


On
Monday night, the Crafty Wenches got together for another Craft Off!
Sally
had 8 ladies attend, and our project was the “Card In A Box”.
Having
made this the day before using the “Flower Shop” stamp set and Pansy punch, entitled "Card In a Box - Flowers", I
was at a slight advantage to the other crafty ladies!

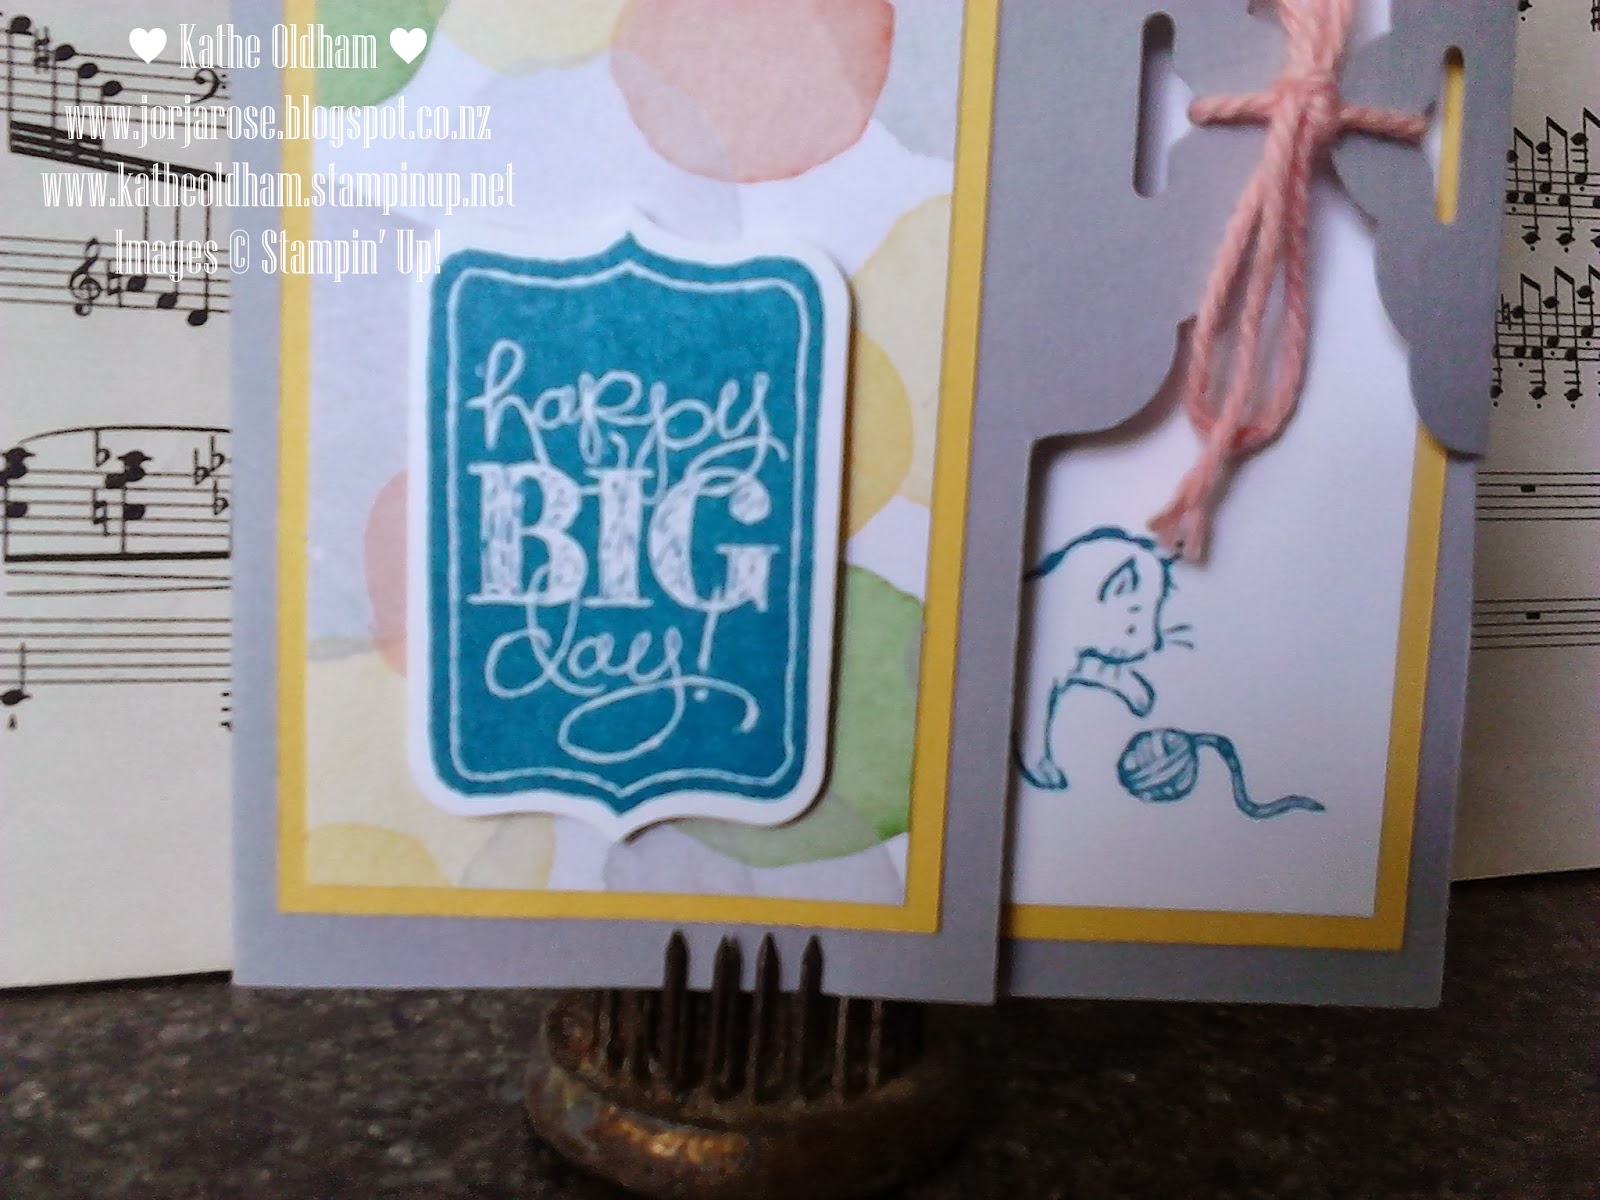
Folded
flat, the card fits in a standard C6 envelope.
Sally
showed us a nifty trick, that only folding the sides down on 2 of the flaps,
when the {lucky} recipient opens the envelope, they are surprised by all the
colours and dimensions on this gorgeous card…

And with all sides folded...

We
used the “Backyard Basics” stamp set and matching Framelits.
Stamped
with Black StazOn Ink, and hand coloured using Blender Pens.


The
cardstock is Sahara Sand, Basic Black and Whisper White, with the gorgeous Sale-A-Bration
“Sweet Sorbet” Designer Series Paper.
Card In A Box - "Backyard Basics" Style!

“Backyard Basics” Stamp Set
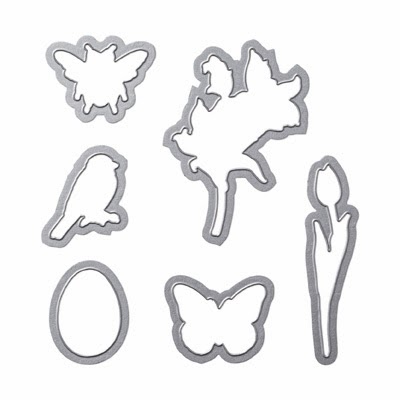
“Backyard Basics” Framelits

“Sweet Sorbet” Designer Series Paper {Sale-A-Bration}
Recipe Ingredient List
Stamp Sets: “Backyard Basics”
Ink: Black StazOn
Ink + Blender Pens
Cardstock: Sahara Sand, Basic Black and
Whisper White, “Sweet Sorbet” Designer Series Paper {Sale-A-Bration}
Framelits/Dies: Backyard Basics Framelits
Xtras:
Stampin’ Dimensionals
Special Tools: Big Shot,
Simply Scored Scoring Tool, StazOn Cleaner, Stampin’
Trimmer


